While I love marshmallows, for some reason I am not the biggest fan of PEEPS. I know some people who love enjoying PEEPS year-round (they do make other creatures for all the various holidays) but for some reason I just don't like all the added sugar that coats the marshmallows. However, for those who love PEEPS here you will love today's recipe that features those colorful Easter treats: PEEPS S'Mores. Ingredients- Graham Crackers
- Hershey's Chocolate Bars
- Peeps
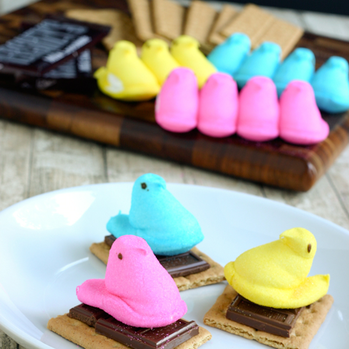
Instructions- Break graham cracker sheet in half. Set one half aside.
- Break a Hershey's bar in half and place one square on top of your graham followed by a peep.
- Place your s'more creation into the microwave for approximately 10-20 seconds (until the peep puffs up).
- Remove from microwave and top with the reserved graham cracker half. Squish down and enjoy!
I think I might just stick with my bag of marshmallow bunnies this Easter but I hope someone can enjoy this adorable PEEPS recipe. Do you have a favorite PEEPS inspired recipe you like to make? Share your favorites below! Happy Friday! xoxo Megan You might also like...
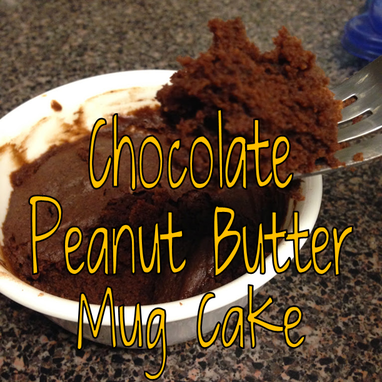
Have you ever had a dessert craving but didn't want to deal with making an entire pan of something (knowing full well that you would end up eating the entire pan)? Well I had one of those dessert cravings really badly last week. I wanted something easy to make, chocolaty, and would not leave a ton of leftovers staring me in the face. So to solve this dessert dilemma I headed over to Pinterest to see what I could find. (Warning: Do not type in "chocolate dessert" into the search bar because you will immediately go into a chocolate comma.) After I came out of my chocolate comma, I decided to browse through some of my recipe pins that I have never tried and ran across my pin of mug desserts. While this might have been one of the first pins I added, I have actually never actually tried any of these recipes (I know! Who would have guessed that?!?!) and decided to try one out: Chocolate Peanut Butter Mug Cake from The Novice Chef. Ingredients- 3 tablespoons flour
- 2 tablespoons sugar
- 1 1/2 tablespoons cocoa powder
- 1/4 teaspoon baking powder
- pinch of salt
- 3 tablespoons milk
- 1 1/2 tablespoons vegetable oil
- 1 tablespoon peanut butter
Instructions- In a large mug, whisk together the dry ingredients (flour, sugar, cocoa powder, baking powder and salt).
- Next add the milk, vegetable oil and peanut butter and whisk until smooth.
- Cook in the microwave on high for 1 minute and 10 seconds. (Heads up it is totally normal if your batter rises a lot and then deflates so don't worry.)
- Grab a fork and enjoy!
I am happy to report that my first go at a mug recipe was a delicious success and I cannot wait to try another mug recipe! This was so easy to make for one or if you had to make 20!
Do you have a favorite dessert mug recipe that you love to make? Share your favorite(s) below as I would love to try out more! Have a wonderful weekend!
xoxo
Megan
You might also like...
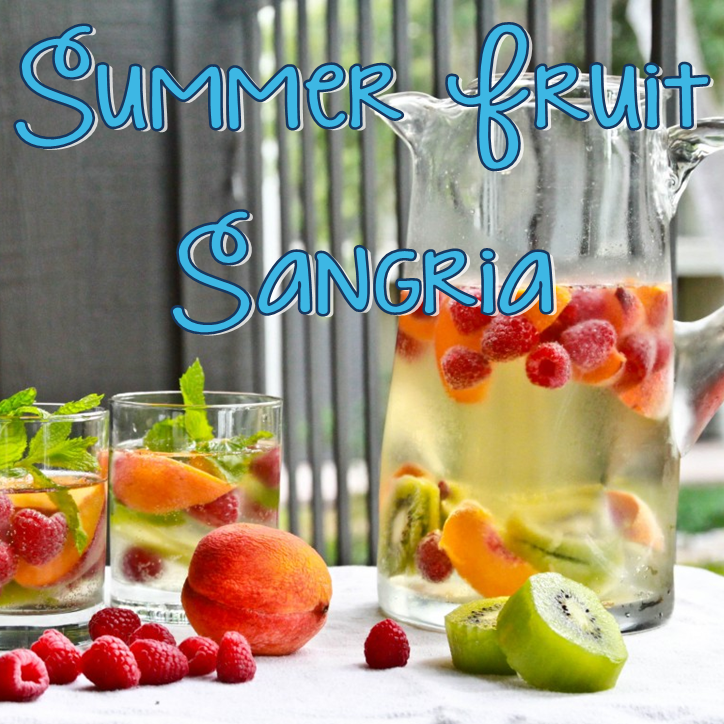
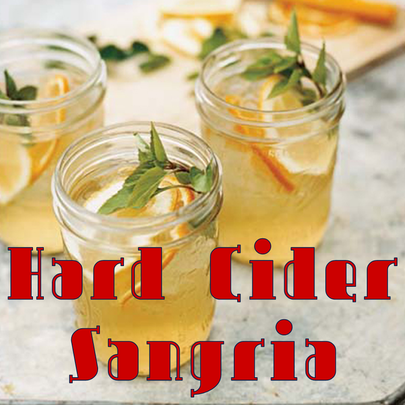
This past weekend I went cider tasting at some local venues, and boy was it yummy! I love the sweetness of ciders and had fun learning about some of the local establishments and what apples the grow in the area. Charlottesville, VA is famous for their apple picking in the fall and you can read up on my adventure to the local orchard from my post this past fall. But apple picking aside, while at one of the tastings I saw this great recipe on how to make hard cider sangria that they had pulled from the Summer 2013 edition of Edible Blue Ridge. I am a huge fan of sangria in the summer (fruit and drink in one? heck yea!!) and cannot wait to try out this recipe once it gets warmer. Enjoy! Ingredients- 3 peaches, thinly sliced
- 2 naval oranges, thinly sliced
- 1 pint of berries (any variety or combination)
- 1/2 cup loosely packed basil leaves, with more for garnishing
- 1 bottle (750 ml) white wine, dry to semidry, chilled
- 2 bottles (750 ml each) hard cider, chilled
Instructions- Put all the fruit, basil and wine in a large pitcher or punch bowl.
- Let sit out for a couple of hours, or refrigerate for a day.
- Add cider just before serving. Make sure each glass gets plenty of fruit and then garnish with a basil leaf.
- Enjoy!
I cannot wait until it gets warm enough to go sit outside at some local wineries, breweries and cideries (???)! What is your favorite drink to enjoy once it gets warm out? Have a wonderful weekend! xoxo Megan You might also like...
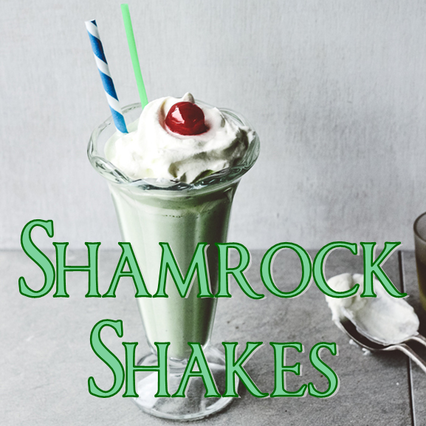
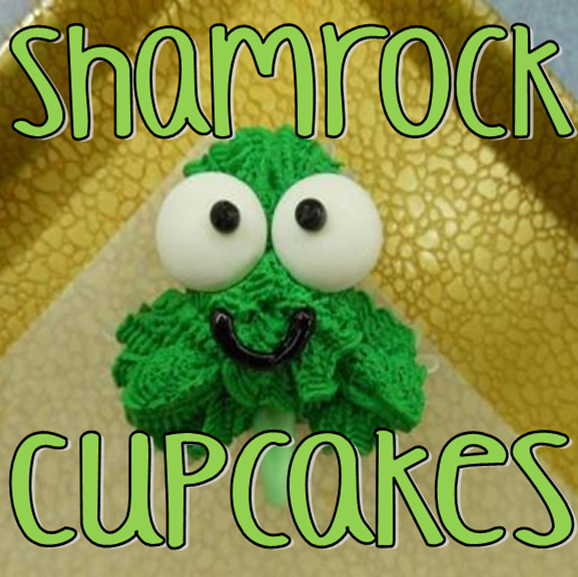
This time of year can cause some people to get a little crazy and slightly obsessed. They wait in anticipation for when they can be reunited with their true love as they will only have a few weeks to treasure their time together. Yes, I am talking about McDonald's Shamrock Shake. And with over 60 million shakes sold since it was first introduced in 1970, they must be doing something right. While I have never had one of these shakes from McD's (I do not support that establishment) I do like to enjoy a seasonal themed beverage like a mint green milkshake. So for those who are like me and do not go to McDonalds, or for those who would like to enjoy the minty shake year-round, here is a great recipe on how you can make your own Shamrock Shake. Please not that this is supposedly the Ultimate Shamrock Shake Recipe from Top Secret Recipes who reverse engineers the country's favorite foods. So if it is not exactly like the original you can take up that matter with them! :) Enjoy! Shamrock Shakes by Top Secret RecipesServes twoIngredients - 2 cups vanilla ice cream
- 1 1/4 cups low fat milk
- 1/4 teaspoon mint extract
- 8 drops food coloring
Directions - Combine all ingredients in a blender and blend on high speed until smooth. Stop blender to stir with a spoon if necessary to help blend ice cream.
- Pour into two 2-ounce cups and serve each with a straw.
And if you want to make this a drunk Shamrock Shake just add 3 ounces of Jameson Irish whiskey (two shots, or 6 Tbsp.) Are you taking part in any Shamrock celebrations this year? Have a wonderful weekend!
xoxo
Megan
You might also like...
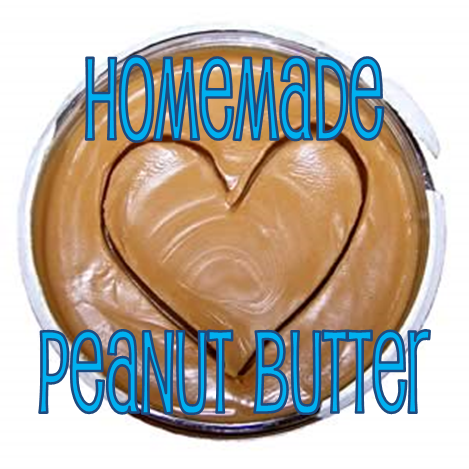
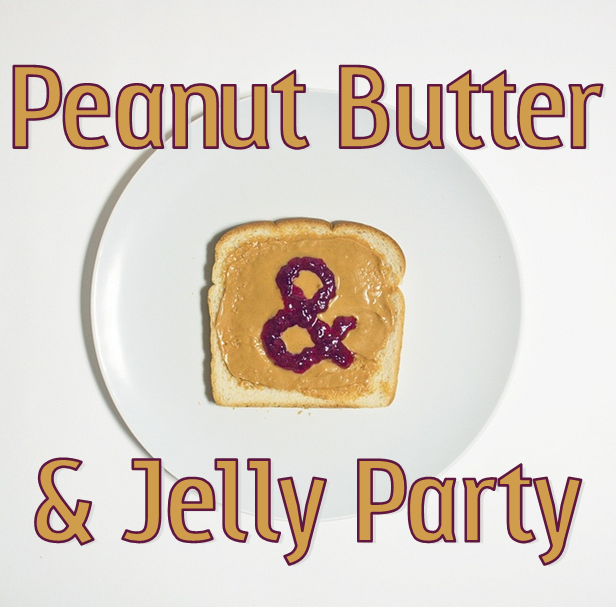
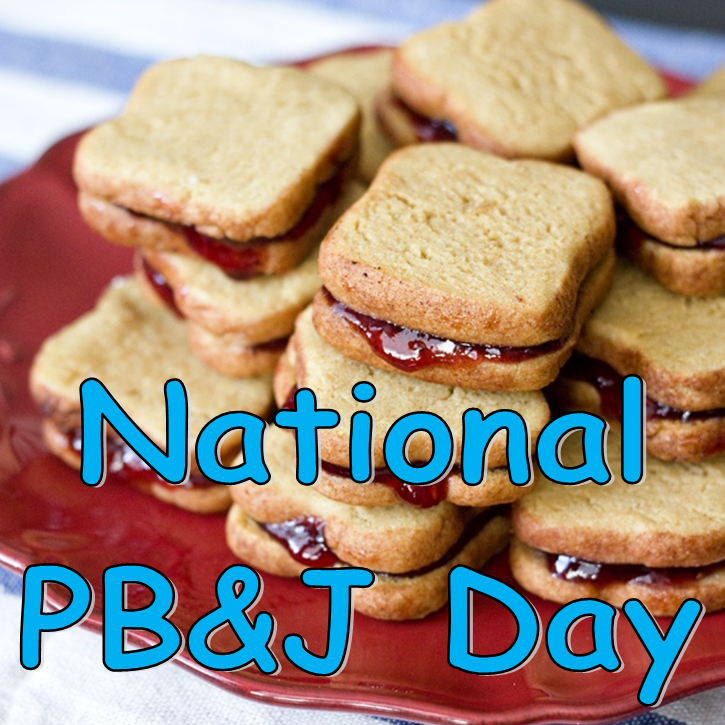
Did you know that there is a National Peanut Butter Lovers Day? Well there is, and it is tomorrow! (Woo hoo!) So in celebration of this festive holiday (because who doesn't love peanut butter? Well maybe those who are allergic to peanuts, but they don't count - sorry!) I found a super easy recipe on how you can make your very own peanut butter. Here is what you will need: Ingredients- 2 cups roasted shelled, unsalted peanuts
- 1 tablespoon peanut oil
- 1/4 teaspoon salt (optional for low salt diets)
Directions- Place peanuts, oil, and salt into a blender or food processor.
- Blend well, until desired texture is reached.
- Place peanut butter in airtight container.
- For crunchy peanut butter, add 1/4 cup of peanuts and blend again, but, for just a short burst or two.
- The oil can separate from the peanuts during storage. Simply stir and serve.
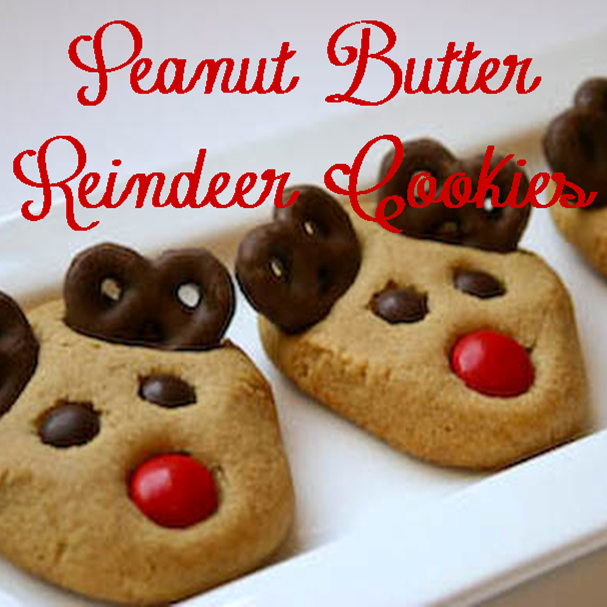
How easy is that?!?! Though I will probably still keeping buying my jar of Jif peanut butter, one day I will make my own! And now for some fun ideas on what you can make with your homemade (or store bought) peanut butter:
What is your favorite way to enjoy peanut butter? Have a wonderful weekend!
xoxo
Megan
You might also like...
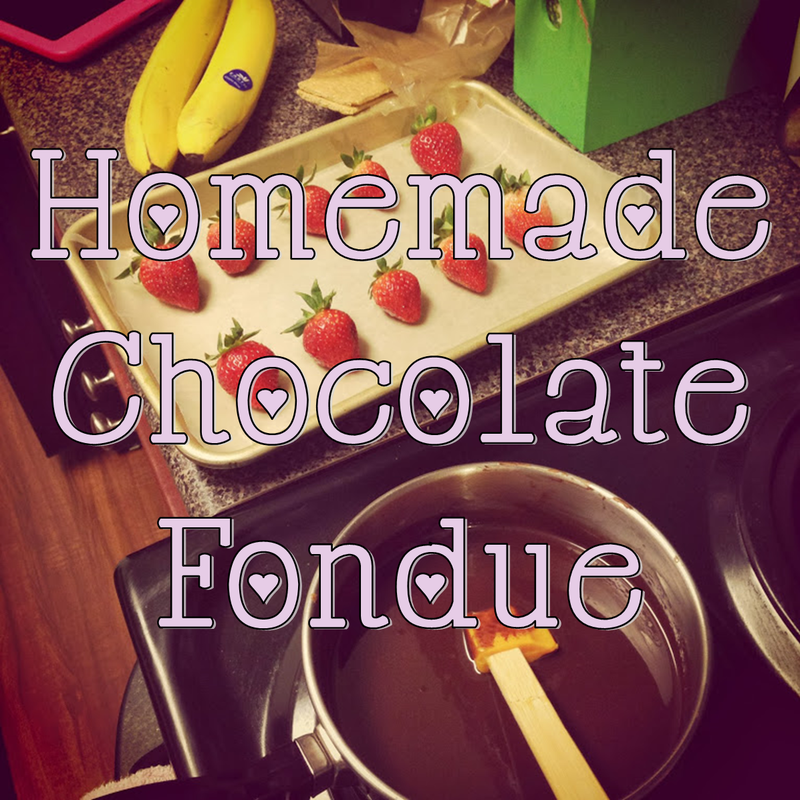
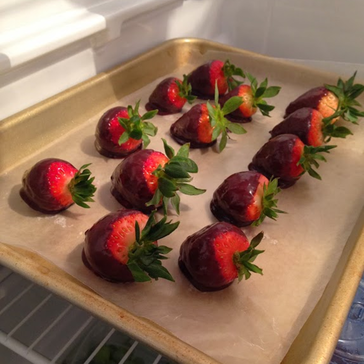
Last week was filled with tons of candy, cards, flowers and chocolates as people celebrate Valentine's Day. With all the snow that we had last week (and can still be found in huge piles in the parking lots) Valentine's Day turned into Valentine's Weekend as many people got snowed in and couldn't get out. As such, last weekend when I was at the grocery store I was bombarded with sights of one delicious treat: chocolate covered strawberries. I had just put a container of fresh strawberries into my cart when I passed by these treats so I was not about to pickup chocolate covered ones that were $5 for a handful of strawberries. However seeing them did cause me to start craving them! So like most random food cravings that I get I decided I would make my own chocolate fondue instead! So now that you know how this week's food inspiration came about here is the recipe that I used to create my own chocolaty goodness. Chocolate Fondue from Every Day with Rachel RayIngredients- 1/4 cup unsweetened cocoa powder
- 1/4 cup water
- 1/2 cup milk
- 1/8 cup sugar
- 1 - 12 ounce bags semisweet chocolate chips
- 1/2 teaspoon pure vanilla extract
- Bananas, Apples, Graham Crackers, Strawberries, Marshmallows, etc. for dipping
Directions- In a medium saucepan, combine the cocoa powder with the water and cook over low heat, stirring constantly, for 1 minute. Stir in the milk and sugar and bring to a simmer. Add the chocolate chips and vanilla and cook, stirring, until the chocolate is melted and the mixture is smooth, about 5 minutes.
- Serve the fondue (or just leave it on the stove set on simmer) warm with all your goodies for dipping.
I dipped strawberries, slices of banana and graham cracker pieces into my chocolate and then stuck them in the fridge to enjoy throughout the week. Just a note to any fondue newbies (a lesson I learned from this cooking experiment) if you stick strawberries into the freezer to help the chocolate harden, don't leave them in there so long that the berries freeze. Because if you do freeze them when you "thaw" them so that you can eat them they turn to mush. (Thankfully I only lost 3 berries!) And don't throw away your leftover chocolate! You can use it as icing, cake filling, or turn them into truffle balls for another yummy dessert!
What is your favorite thing to dip into chocolate fondue? And besides chocolate, what is your favorite type of fondue to make? Hope you all have a fabulous weekend!!
xoxo
Megan
You might also like...
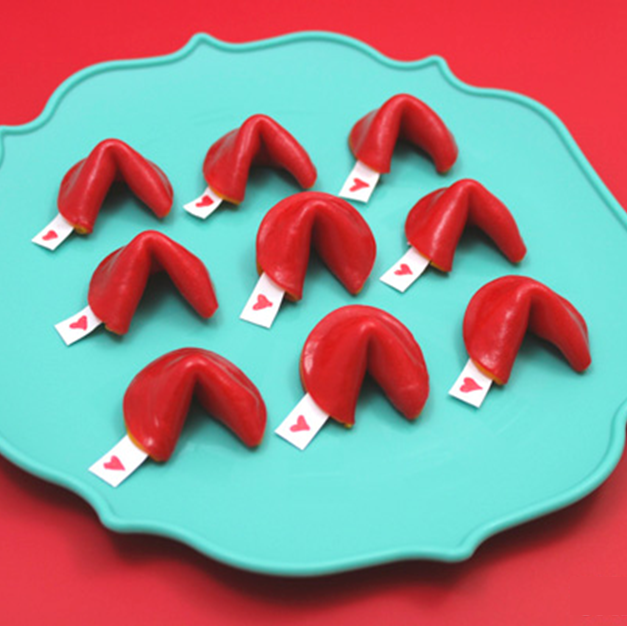
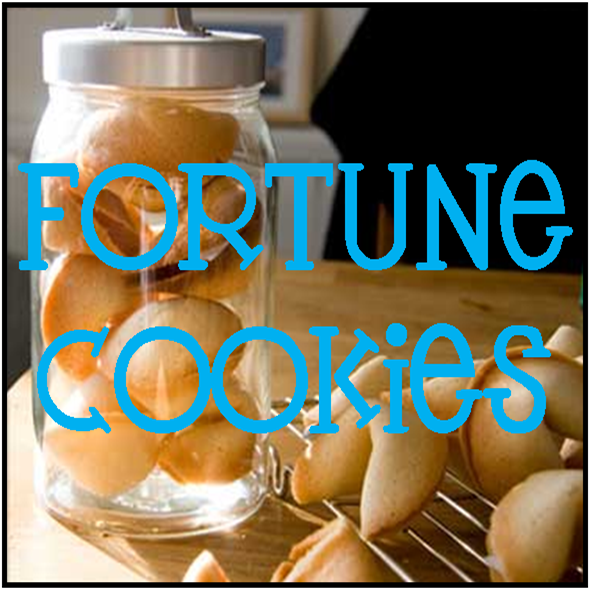
This has been one crazy week! From the President coming to town to getting snowed in with over 14 inches of snow I have completely lost track of my days. This morning I finally went out and played some in the snow (yea!!) and created this cute little Valentine's Day heart to celebrate today's holiday. So from a snowed in blogger to everyone out there Happy Valentine's Day! If you are still in need of a cute gift for your Valentine this year (and if you had a week like mine I wouldn't blame you!) try this cute homemade fruit roll-ups fortune cookie DIY from SheKnows. You can include your own adorable Valentine fortunes like "Sweets for my Sweet" or include some cute inside jokes that you share with your cutie. These fortune cookies are fun to make and enjoy! For a full step-by-step on how to create these treats check out the tutorial here. What are you doing to celebrate Valentine's Day today?xoxo Megan You might also like...
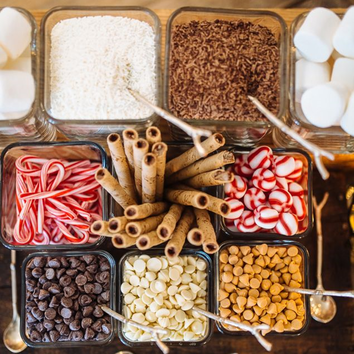
As I am currently sitting at my computer trying not to shake like a crazy person, I thought it was only fitting to put together the perfect party idea that will be sure to warm all your guests up nice and quick: a Hot Chocolate Bar. This is the perfect accessory for any party or get together you might be hosting this winter and the customization options are endless. While I am trying to keep my fingers and toes warm I hope you all enjoy! What you will need to make a hot chocolate bar: - Hot Chocolate Mix
- Cups
- Spoons
- Straws
- Delicious Mix-Ins
To setup your hot chocolate bar you can set out hot water and cocoa mix or you can premix a batch for your guests to enjoy. If you premix the hot chocolate a great way to keep it warm is to serve it in a crock-pot with a ladle for your guests to serve themselves. These mix-ins could really be anything that you can think of! Here are some great suggestions to get you started: - Andes Mints
- Candy Canes
- Caramel Squares
- Chocolate Chips
- Chocolate Dipped Marshmallows
- Chocolate Shavings
- Cinnamon
| - Cinnamon Sticks
- Hershey's Kisses (any flavor)
- M&M's
- Mini Marshmallows (any flavor)
- Nutella
- Nutmeg
- Oreo Crumbles
| - Peanut Butter Chips
- Peppermints
- Pirouette Cookies
- Reese's Peanut Butter Cups
- Toffee Chips
- Whipped Cream
- White Chocolate Chips
| To spruce up your hot chocolate bar a little more you can put out festive cups or a fun array of mugs as well as some decorative paper straws. Those adorable striped and polka dotted straws are always a hit with any kind of drink! And don't slack on the presentation of your mix-ins either. Serve them in a variety of fun glassware with cute signs letting your guests know what each item is.
And for those who are looking for an adult mix-in try Bailey's, cinnamon liquor, Frangelico, peppermint schnapps or Kahlua. Anyone you choose (or all of them) will be sure to keep you warm and toasty!
What is your favorite thing that you like to add to a cup of hot chocolate? I hope everyone is staying warm! Have a wonderful weekend!
xoxo
Megan
You might also like...
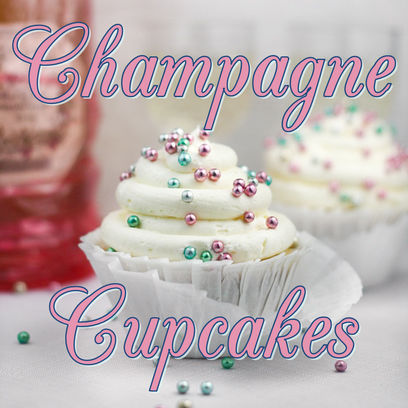
Move over Christmas cookies, its time to ring in the new year with some bubbly!! With Christmas come and gone (tear...) it is time to start thinking about New Years Eve. There are the traditional "lucky" new years foods to have at your NYE bash but when it comes to the sweets there is just one thing on my menu: champagne cupcakes! I haven't figured out what I am doing for New Years yet, but I am certain that these will be made! Not only does this bubbly recipe from Sprinkle Bakes have champagne in the cake, but it also has it in the pastry filling and icing! You can top these with some edible glitter and ring in the new year with a glass in one hand and a bubbly treat in the other! Cheers! Cake- 1/2 cup butter softened
- 1 cup granulated sugar
- 2 eggs
- 1 tsp vanilla
- 1 3/4 cups flour
- 1/2 tsp baking soda
- 1/4 tsp baking powder
- 1/4 tsp salt
- 1/2 cup sour cream
- 1/2 cup champagne, prosecco or sparkling wine
1. Preheat oven to 350 degrees. 2. In the bowl of a stand mixer fitted with the paddle attachment, cream together butter and sugar until light and fluffy. Add eggs one at a time beating well after each addition. Add vanilla and mix. 3. In a separate bowl whisk together flour, baking soda, baking powder and salt, set aside. 3. In a third bowl, whisk together 1/2 cup champagne and 1/2 cup sour cream (mixture will fizz and bubble a little). 4. Add flour and champagne mixture alternately to the stand mixture, beginning and ending with flour. The batter will be thick. 5. Fill cupcake papers with 1/4 cup level measures of batter and bake for 17-22 minutes. Set aside to cool. Champagne Pastry Cream Filling- 1/2 cup heavy cream, divided
- 1/2 cup champagne or prosecco
- 2 tbsp cornstarch
- 5 tbsp granulated sugar
- 1 whole egg
- 2 egg yolks
- 2 tbsp unsalted butter
- 1 tsp vanilla
1. In a medium bowl, whisk cornstarch in 1/4 cup of heavy cream. 2. Next combine the remaining heavy cream, sugar and 1/2 cup champagne in a saucepan; bring to a boil then remove from heat. 3. Beat the whole egg and egg yolks into the cornstarch/heavy cream mixture. Pour 1/3 of boiling champagne mixture into the egg mixture, whisking constantly so the eggs do not cook. Return the remaining champagne/heavy cream mixture to a boil. Pour in the hot egg mixture in a stream, whisking constantly until the mixture thickens. Remove from heat and beat in the butter and vanilla. 4. Cut a divot into the top of each cupcake and fill with pastry cream. Trim the cut-out cake pieces flat to make a "lid" and place on top of the filled divot. Champagne Frosting- 1 cup plus 1 tbsp. champagne or prosecco
- 2 sticks of butter softened
- 2 1/2 cups confectioners' sugar
1. Place 1 cup of champagne in a small saucepan. Simmer over medium-high heat until reduced to 2 tablespoons. Transfer to a small bowl or condiment cup and allow to cool. 2. In the bowl of a stand mixer fitted with the whisk attachment, cream softened butter and powdered sugar together. Once the frosting is thick and fluffy, pour in the reduced 2 tbsp. champagne plus 1 tbsp. champagne from the bottle and mix well. 3. Once the champagne is mixed in frost your cupcakes and decorate! Enjoy! Make sure to enjoy a glass of the champagne while cooking and always remember you can NEVER have too much champagne. Just ask F. Scott Fitzgerald... What is your favorite New Years treat?
xoxo
Megan
You might also like...
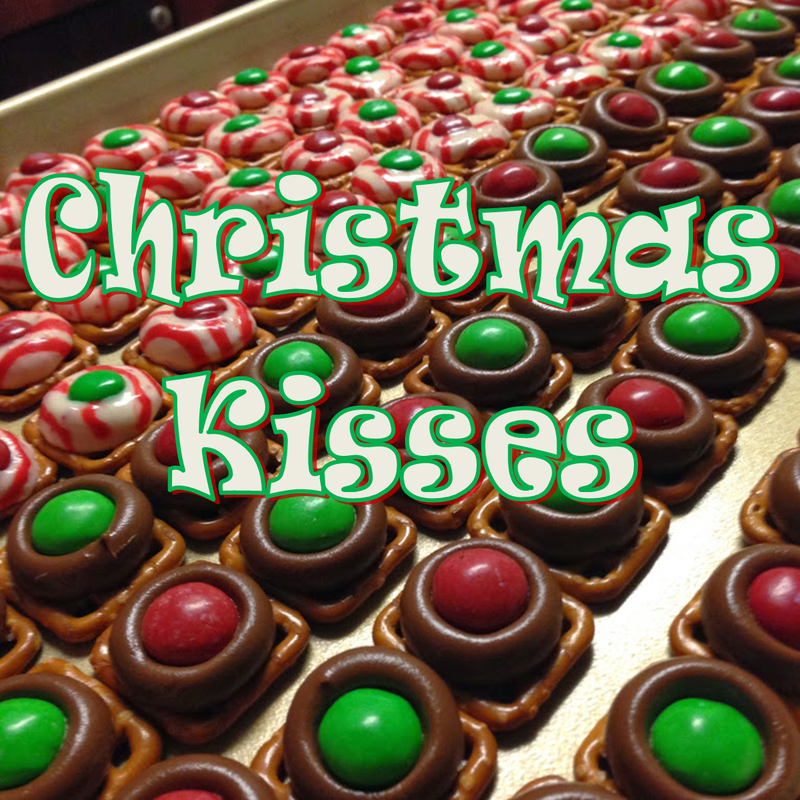
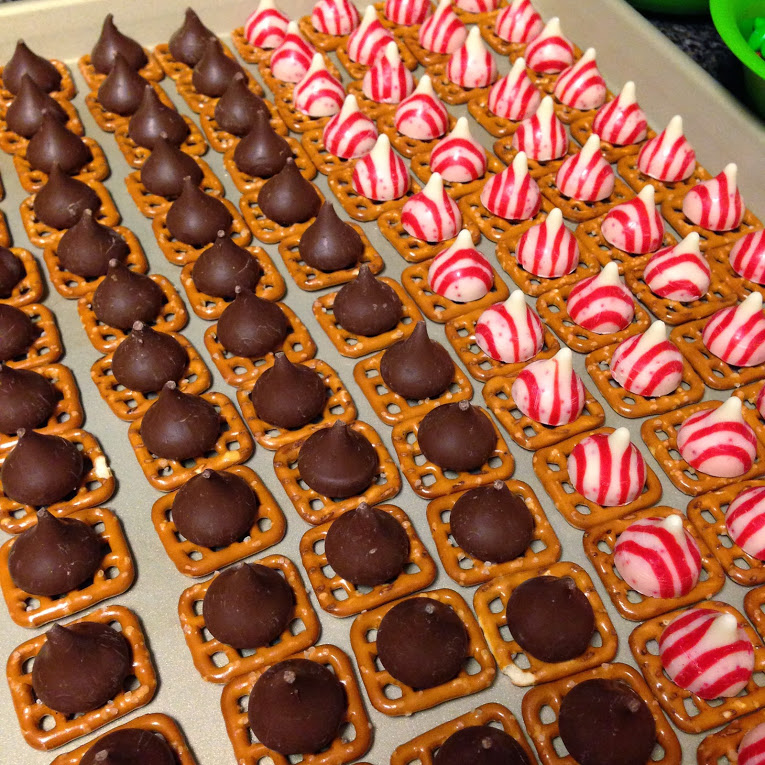
If you were following me on The Blog Baton on Wednesday I shared a sneak peak at the holiday treats that I made this year, Christmas Kisses. I love how simple these are to make and how you can customize them for any any holiday or occasion. So to make them Christmas themed, and to add a little twist to the standard recipe, I bought red and green M&M's, peanut butter M&M's and peppermint kisses. The only issue I came across was that the peppermint kisses melted a little quicker than the chocolate ones so you make more than one variety just put them on different cookie sheets. Here is how I made my Peppermint Kisses... Ingredients- Pretzel Squares
- Hershey's Kisses
- Hershey's Peppermint Kisses
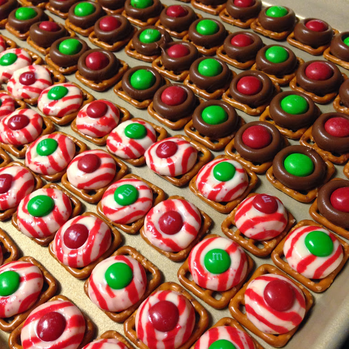
- Red and Green M&M's
- Red and Green Peanut Butter M&M's
Instructions1. Preheat the oven to 250F. 2. Create one layer of pretzels on your cookie sheet and place one kiss on each pretzel. I did half peppermint and half chocolate kisses for mine. 3. Place the cookie sheet of kisses into the oven for 5-7 minutes. They will be ready to be taken out when they get a shiny look.
4. Once you pull them out have your M&M's ready and place one M&M on top of each kiss. I placed the regular M&M's on the peppermint kisses and peanut butter M&M's on the chocolate kisses. 5. Once all the kisses have their M&M on top let them sit to cool off for at least an hour.
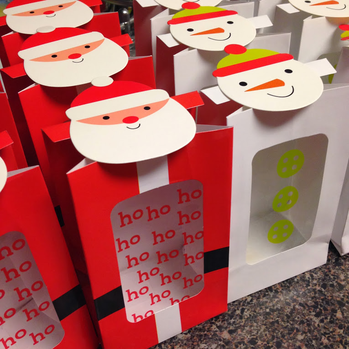
6. And for the final step I found these adorable treat bags in the dollar spot at Target which are perfect for these treats! What is your favorite holiday treat to make?
xoxo
Megan
You might also like...
|


 RSS Feed